
This post is a continuation of the video, Tight Cutting.
It was July and hot. I was going to the TexWorld Trade Show at the Javits Center in New York City to attend their seminars. I wanted to wear cool, business attire.
Dress, even in NYC, is now casual. A pair of Bermuda shorts to match my linen jacket would be perfect, but I had almost no fabric left after making a jacket, skirt, and slacks from the blue linen. My son Andrew and I made a video as I cut the shorts. Our video, Cutting Tight, is up on YouTube.
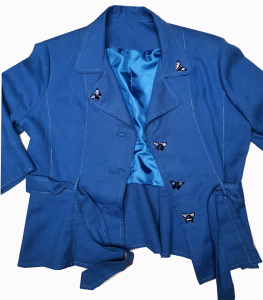
The blue jacket had been copied from a purchased jacket.
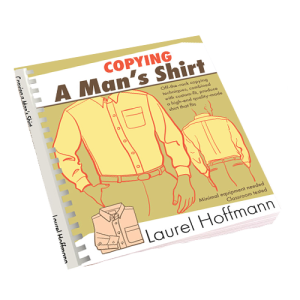
How to copy a ready-made garment is explained in Copying a Man’s Shirt. No stitches are removed when copying a ready-made garment.


I used the same sewing I used the same sewing procedures I learned in industry to sew the shorts that I use to sew pants.
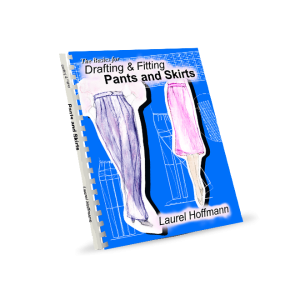
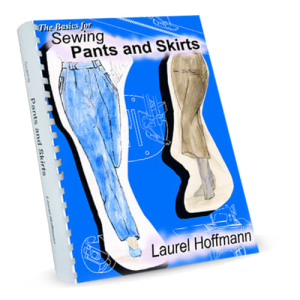
(Step-by-step instructions for drafting pants and skirts are presented in The Basics for Drafting and Fitting Pants and Skirts; Step-by-step instructions for sewing pants and skirts are presented in The Basics for Sewing Pants and Skirts. I use my books when I draft and sew. I’m really glad I wrote them because they save me hours of time. )
But first I sewed a 1/8 inch seam down the inside of the pants where the side seams would have been to give the illusion that the pants have side seams.
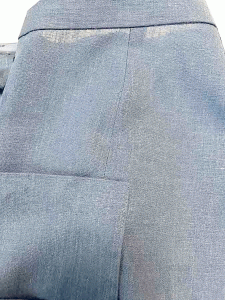

The crotch extensions are sewn next. This is important , as the crotch extensions need to be in place before the zipper can be set. As with al garments sewn using industrial procedures, the zipper is set first, or as soon as possible.

After the zipper was set, the crotch seams were sewn. The belt straps can now be added and the waistband sewn.


The waistband is fused, then backed with
grosgrain ribbon.

Hand stitching finishes the waistband. Hooks, eyes, and the label are hand sewn to the waistband. The pants are hemmed by machine.
Thanks for reading, Laurel
LaurelHoffmann-YouTube
https://laurelhoffmann.com/
https://www.facebook.com/CFashionEdu
https://www.linkedin.com/in/laurelhoffmann/
https://www.instagram.com/laurelhoffmann4015/
RSS Feed: https://laurelhoffmann.com/blog/
https://www.ravelry.com/projects/LaurelHoffmann
https://www.yelp.com/biz/laurel-hoffmann-oreland
https://www.thumbtack.com/pa/philadelphia/drawing-lessons/fashion-drafting-sewing-books-classes
