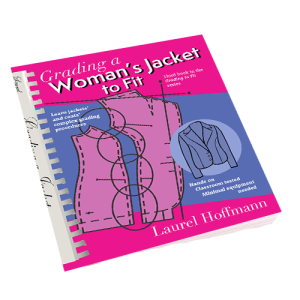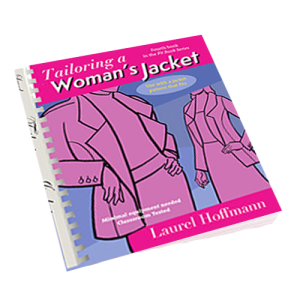
Starting January 2020 the course, Drafting and Sewing a Skirt to Fit, will be offered from 9 to noon, dates to be announced, on Saturday mornings at the Abington Art Center, where I have been asked to teach my program. In this post is some of the basic information included in that course:
1. Neatness counts. Draft, cut, and sew clean.

2. Trace patterns, reducing the seam allowances the patterns are traced.
1/4 inch for necklines, sleeveless armholes, and other curved seams that have no stress
3/8 inch for princess seams and other curved seams that have stress
1/2 inch for straight seams
3/4 inch for zipper seams and when extra seam allowance might be needed for fitting in the future.
3. Use tools when tracing patterns.

4. Cut notches 1/8 inch deep with just a snip of the shears.
5. Cut V-notches to indicate center front, center back, and corrected notch placements.
6. Check that all seams sew – for example – that the front side seam is the same length as the back side seam, etc.

7. Make a muslin before cutting the fashion fabric so as to make sure the style and fit are correct.
View this video by hitting this link, Fitting a muslin skirt, to see a correctly fitted muslin skirt.
8. Make sure the pattern fits and all problems have been corrected BEFORE cutting the fashion fabric is cut.

9. Before shopping for the fashion fabric, lay out the patterns on a marked surface to determine how much fabric is needed. Yardage is determined on the fold.

10. Make a fabric reference notebook. Label the front page with your name, phone number, and email address. Add a short list of yardage lengths needed to cut a skirt, pants, blouse, and jacket.

11. Cut swatches from fabrics in the stash. Label with yardage and width. Add swatches from clothing previously made. Take the notebook to the fabric store when shopping for fabric to make sure not to buy what you already have, and to make sure bought purchases with match clothing already in the wardrobe.
12. In the fabric store pile up the fabric and lining. See how they feel together. Take the fabric to the window to check the color. Check that the fabric blends withes with the swatches in the notebook from previously made clothing.
13. Consider how the garment will be worn, and with what already owned. Consider buying enough yardage to make a matched ensemble.
14. Test the purchased fabric before cutting. Wash and dry a 12 by 12 inch square cut from the fabric. Press the square.

15. Cut the fabric on the open. Unless the fold of the pattern is perfectly aligned with the fabric’s fold, the cut fabric piece will have lost or gained a triangular wedge of fabric down the center. The underlying ply of fabric may be off-grain. Cutting on the open saves fabric.

16. Cut left to right, right to left if left handed.

17. Cut slippery and delicate fabrics sandwiched between tracing paper.
18. Throw as you go. Throw fabric scraps into a separate clean waste basket for testing the machine settings and stitch choices later.
19. Before cutting small pattern pieces that need to be fused, fuse the principal fabric. Then cut the small pieces that need to be fused.
20. Wrap the cut pieces in their patterns. Take together to the sewing machine so the pattern can easily be checked as one sews the garment.
21. Test the sewing machine’s settings with scraps from the cut fabric.


22. When sewing straight seams use a straight-stitch foot, and if available, also use a straight-stitch plate. This gives better control than when using a zigzag foot to sew straight seams. It also prevents the fabric from jamming in the race.
23. Sew up from the hem in the direction of the fray.

24. Sew on gauge. If there is no gauge on the sewing machine, make one.

25. Check the seam allowances as they are sewn to make sure they are sewn on gauge.

26. If finishing the seams with zigzagging, use a small zigzag stitch to finish the seams. High-end French garments seam allowances are often finished with narrow zigzagging.

27. After the garment is sewn, roll the patterns over a cardboard tube left over from wrapping paper. Cut a swatch of the left-over principal fabric and tape to the rolled up pattern. Store the pattern in a plastic trash can.
http://localhost/cfashion/
https://twitter.com/LaurelHoffmann1
https://www.facebook.com/CFashionEdu
https://www.linkedin.com/in/laurelhoffmann/
RSS Feed: http://localhost/cfashion/blog/
https://www.ravelry.com/projects/LaurelHoffmann
https://www.thumbtack.com/pa/philadelphia/drawing-lessons/fashion-drafting-sewing-books-classes

